Home Automation Smart Node
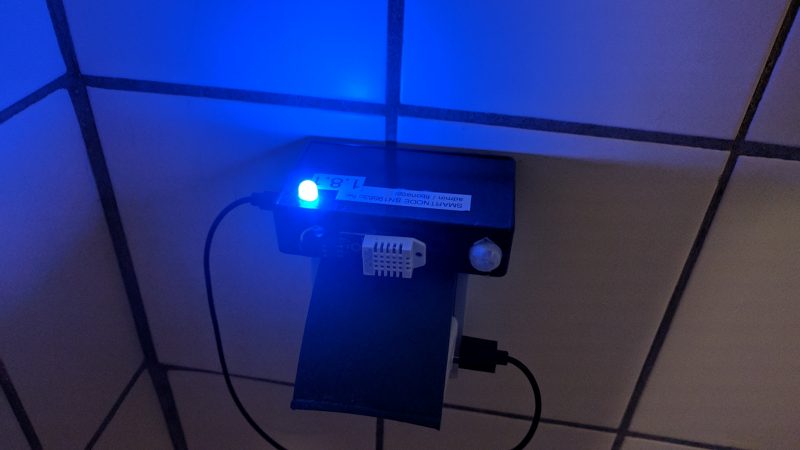
A central actor in my home automation system is a Smart Node. These small nodes can:
- Detect motion
- Sense temperature & humidity
- Indicate status with an RGB LED
IR Receiver(not yet implemented in software)
Parts List
To build the Smart Node, you will need the following
- Wemos D1 Mini, or NodeMCU (Any ESP8266-based breakout board will do)
- AM-312 PIR Sensor – this must be the AM312; I had the same experience as BRUH Automation
- DHT-22 – you can use DHT11 – but for a reliability/accuracy comparison see this entry here
- An infrared receiver
- RGB LED (I like 10mm frosted)
- MicroUSB Charger
- Wire to connect it all
as well as the following tools:
- Soldering iron
- Some form of case (either 3d printed if you have a 3d printer, or a plastic box + drill for making holes)
- Optional: Dupont crimper/ends
The Hardware
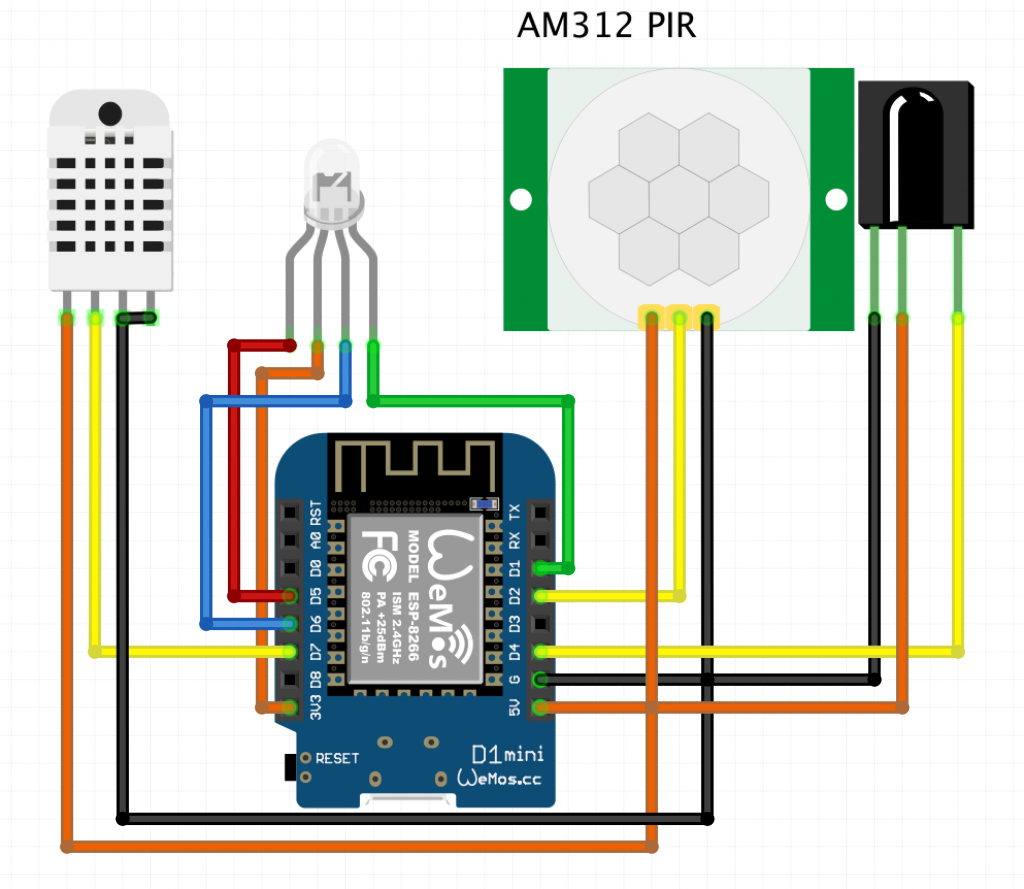
My firmware assumes the following wiring setup, based on the Wemos pin labelling. (Boot) indicates this pin must have a certain state during ESP Bootup, so if you’re adding a new sensor be careful when using D3 or D8.
| Pin | Hookup | Hookup | Pin | |
|---|---|---|---|---|
| tx | rst | |||
| rx | a0 | |||
| d1 | RGB Green | d0 | ||
| d2 | Motion | RGB Red | d5 | |
| d3 | (Boot) | RGB Blue | d6 | |
| d4 | (Onbard LED),IR | DHT | d7 | |
| gnd | GND | (Boot) | d8 | |
| 5v | Motion, DHT, IR | LED + | 3v3 |
A visual diagram of this hookup is as follows:
The Software
The software is based on the Espurna firmware. Espurna is designed for finished devices, so I needed to define my own device types. You can download a copy of my changes to Espurna from my github here.
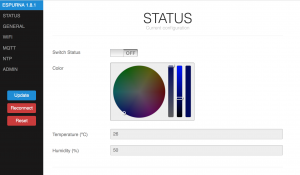
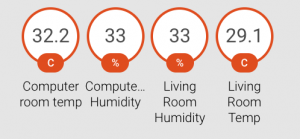
Once the code is flashed to the ESP8266, you can connect to the web interface and set a password (the default username is admin/fibonacci). It also has a nice administration page where you can see if everything is wired correctly. Setting the light colour should set the light to the appropriate colour (test red, green and blue to ensure your LED is wired correctly), as well as see the current temperature and humidity:
Home Assistant Configuration
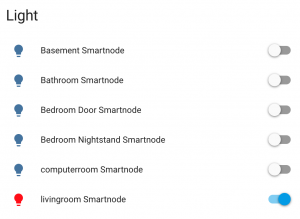
Light – add to lights/<file>.yaml:
platform: mqtt
name: Bedroom Smartnode
state_topic: "/home/esp/bedroomsn1/relay/0"
command_topic: "/home/esp/bedroomsn1/relay/0"
payload_on: "1"
payload_off: "0"
rgb_state_topic: "/home/esp/bedroomsn1/color"
rgb_command_topic: "/home/esp/bedroomsn1/color"
optimistic: false
qos: 0
Motion – add to automations.yaml & scripts/<script>.yaml
The motion is momentary only and needs to trigger a script. The motion and lack of motion are the same command, as Espurna considers this a button press. The motion triggers a script, which will then set timers and react accordingly.
- id: lighttest-on
    alias: "Turn light on immediately"
    trigger:
        platform: mqtt
        topic: /home/esp/bedroomsn1/button/0
        # Optional
        payload: '2'
    action:
        - service: homeassistant.turn_on
            entity_id: script.bedroom_timed_lamp
Here’s an example of how I’m turning off a light after a certain amount of inactivity:
bedroom_timed_lamp:
   alias: "Turn on bedroom lamp and turn off after set time"
   sequence:
      # Cancel ev. old timers
      - service: script.turn_off
        data:
          entity_id: script.bedroom_timed_lamp_off
      - service: light.turn_on
          data:
            entity_id: light.living_room
      # Set new timer
      - service: script.turn_on
          data:
           entity_id: script.bedroom_timed_lamp_off

bedroom_timed_lamp_off:
    alias: "Turn off lamp after 10 minutes"
    sequence:
      - delay: '00:{{ states.input_slider.bedroomlightdelay.state | int }}:00'
      - service: light.turn_off
        data:
          entity_id: light.living_room
The above code turns the light off after a templated delay. This allows me to have short delays in places like hallways, and long delays in places where we tend to sit and not move, such as a living room. The template refers to an input in home-assistant, which can be set to the desired time delay. Any motion during this time will reset the timer, so the lights will turn off n minutes after the last motion was detected. Â Here’s an example of the input:
bedroom_timed_lamp_delay:
   name: Bathroom Motion Delay (Min)
   icon: mdi:timer
   initial: 5
   step: 1
   min: 0
   max: 60
Temperature / Humidity
The following can go into your `sensors.yaml` file
- platform: mqtt
   state_topic: "/home/esp/bedroomsn1/humidity"
   name: "sn1-Humidity"
   unit_of_measurement: "%"
- platform: mqtt
   state_topic: "/home/esp/bedroomsn1/temperature"
   name: "sn1-Temperature"
   unit_of_measurement: "C"
The Case
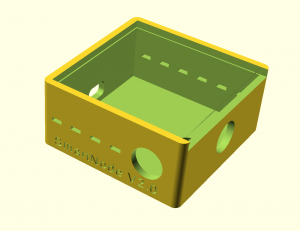
If you have access to a 3d printer, you can print out a case to house everything. Most of my Smart Nodes are currently in project boxes, which I drilled holes in, and these work just fine if you don’t have access to a 3d printer.
This was designed in OpenScad by a colleague who has graciously offered to share the code. You can download the OpenScad source files, as well as the STL files required to print here: smartnode-case.tar.gz

1 thought on “Home Automation Smart Node”
Comments are closed.