Amazon Dash + OpenHAB for mail delivery notifications
Amazon in the US has a deal, where you can get a small button for $5. The marketing behind the button is, you can press it and it connects to amazon, and orders you a new package of something you have pre-selected.
As a geek, all I see is a gadget that is simple, has a long battery life, low power usage and connects to wifi — and all this for $5! Â I immediately bought 14 of them, and now need to justify my purchase.
The first dash button I will re-purpose to trigger when the flap on my mailbox is opened, thus signalling new mail. For this project I will need to do the following:
- Program the dash button to connect to my wifi, and block it at my firewall to prevent amazon from knowing when I get mail
- Modify the dash button: replace the pushbutton with a magnetic reed switch
- Capture ARP requests from the dash button, and turn these into an MQTT message
- Attach the button inside the mailbox, and attach a magnet to the door
- Configure OpenHAB to trigger various actions when the mail arrives
Programming + Blocking
The Amazon dash button can be programmed with an app on your cell phone and the directions from amazon. If you cancel the programming process after you’ve setup wifi, but before configuring the product, it ends up not ordering anything; however, Amazon will still get notified every time I press the button. This is annoying because my amazon app constantly complains I need to select a product for the button, as well as notifies amazon every time I press the button. To avoid this, I will block it on my main firewall, which is running PFSense. Â The first step is to configure my DHCP server to give out an address in the range 192.168.x.32-40 — this will be my ‘no traffic to the internet’ subnet within my home network. An evil network admin “Block Everyting” rule completes this:
Dash Button Surgery
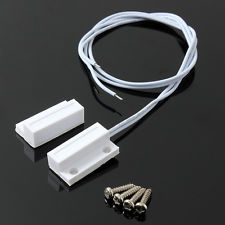
Now that the dash button is successfully connecting to my wifi, I need to perform some surgery. The simplest method to monitor the mailbox flap will be to use a magnetic reed switch — these are very common on security systems, and usually come in a pre-packaged case like this:
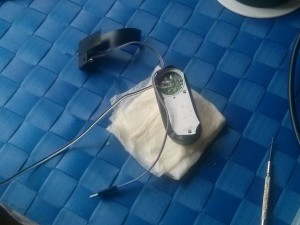
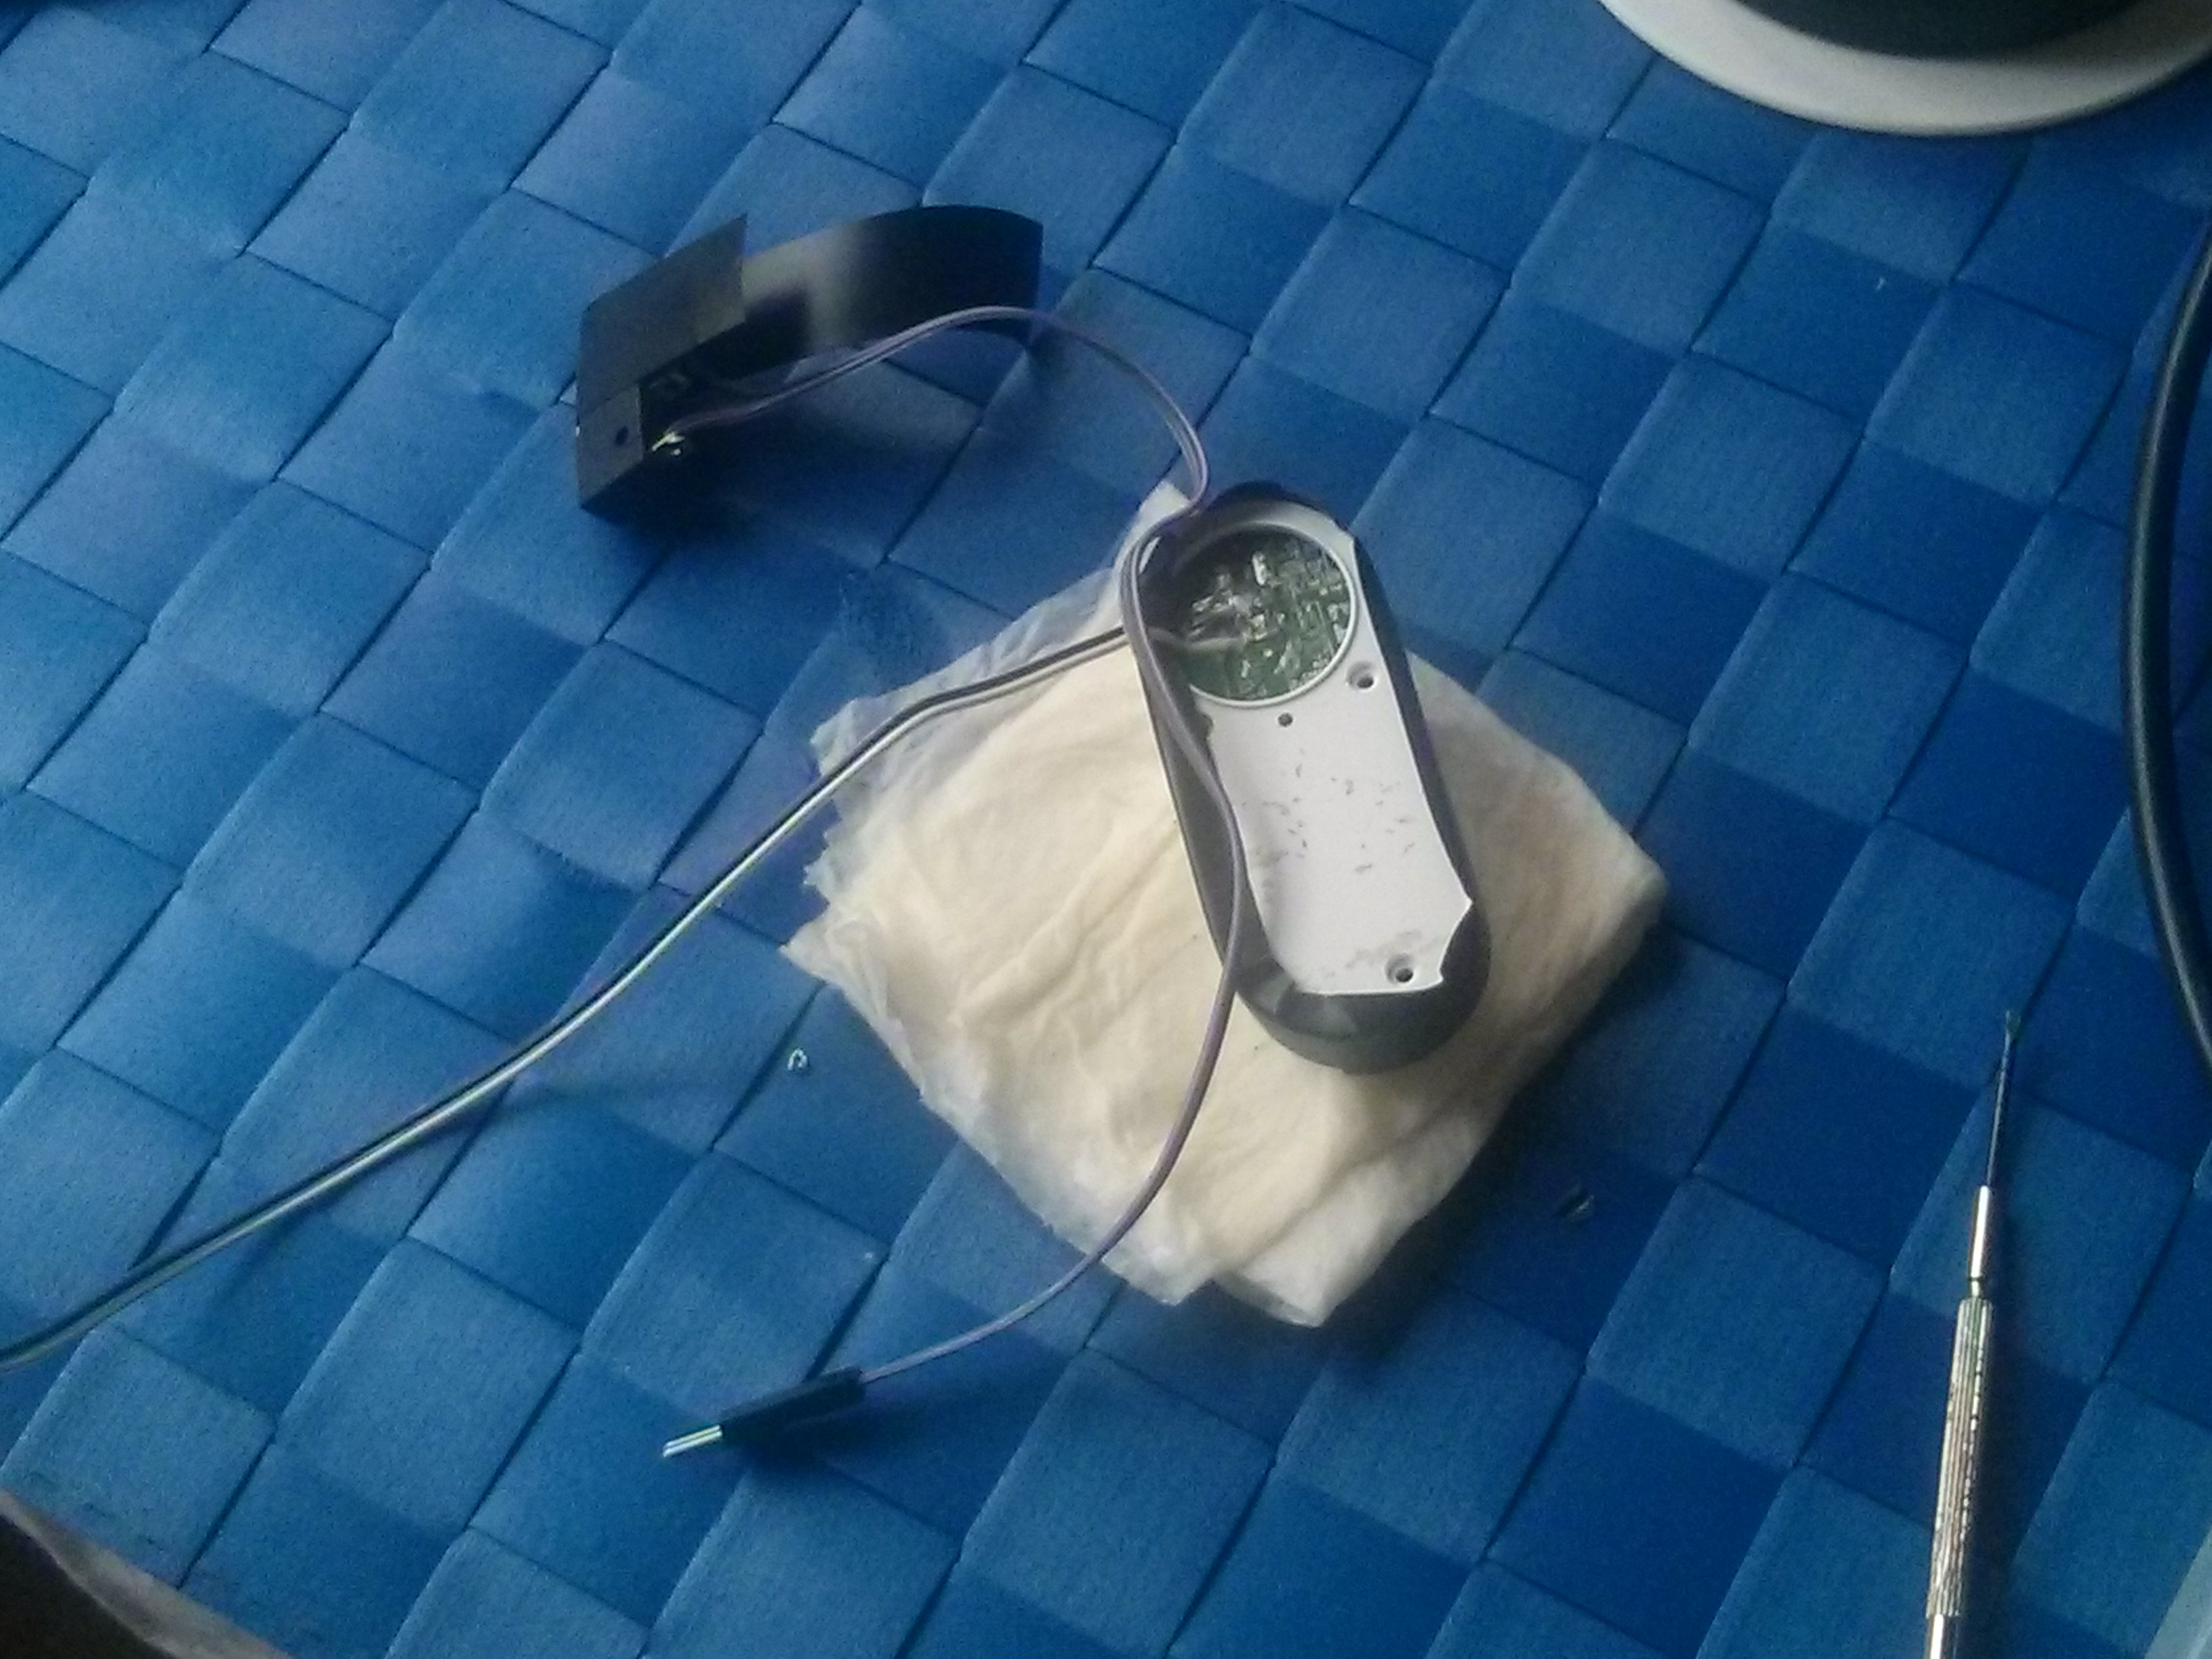
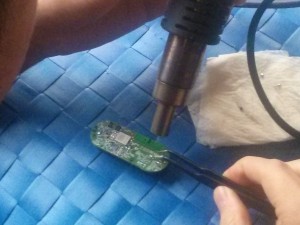
The principle of operation is the one side without any wires is a magnet, and the side with the wires has a magnetic reed switch. This site goes into excellent detail in how the reed switch works. Instead of a finished product like pictured above, I ordered  myself 10 naked reed switches. These will be smaller and easier to hide away. While waiting for these to arrive, I took to modifying the dash button to replace the switch. This blog from Matthew Petroff has a good breakdown of how to get your dash button apart (hint: a bit of violence helps break the glue), as well as what’s to be expected inside. The job was rather tedious, but basically de-solder the tiny SMD button and replace it with a plug:
The plug will be my standard system, so eventually when the dash button dies I can simply unplug whatever sensor triggers it, and plug in a ‘new’ button — field replaceable units!
Capture Button Presses
Capturing the button press is a workaround – when the button is pressed the process is as follows:
- Connect to WIFI
- Request an IP Address via DHCP
Connect to AmazonReceive Confirmation of successful order- Timeout
Steps 3 and 4 are blocked as described before. At step 2, Ted Benson has a good writeup of how to capture this request and then run something based on which button was pressed. My final code is
from scapy.all import *
import paho.mqtt.client as mqtt
hamqtt = mqtt.Client()
hamqtt.connect("homeautomation.muzik.ca", 1883, 60)
hamqtt.loop_start()

def arp_display(pkt):
  if pkt.haslayer(ARP):
    if pkt[ARP].op == 1: #who-has (request)
      if pkt[ARP].psrc == '0.0.0.0':
        if pkt[ARP].hwsrc == '74:75:48:aa:bb:cc': #mailbox
          hamqtt.publish("/home/dashbuttons/aabbcc", "1")
        elif pkt[ARP].hwsrc == '74:c2:46:dd:ee:ff': #extra
          hamqtt.publish("/home/dashbuttons/ddeeff", "1")
        else:
          print "Uninitialized button or other device: " + pkt[ARP].hwsrc
print sniff(prn=arp_display, filter="arp", store=0)
The above code will grab my buttons DHCP requests and trigger an MQTT message. The MQTT subject will be /home/dashbuttons/last-six-MAC-digits, and will always publish a 1.
Running a test command verifies that everything is working correctly. I’ll subscribe to all topics (“#”) so I can see all the MQTT messages going by, each button press resulting in a new line:
[git:master] [2015-12-13 11:00:05] 504 ~ $ mosquitto_sub -h homeautomation.muzik.ca -t "#" -v
/home/dashbuttons/aabbcc 1
/home/dashbuttons/aabbcc 1
Attaching the button and magnetic reed switch
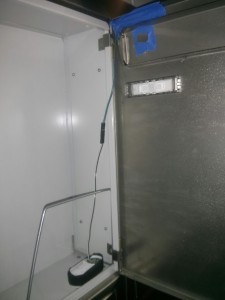
Attaching the button was straightfoward – a bit of tape and everything worked as expected. The final install is pictured below
OpenHAB Configuration
The final piece of the puzzle was integrating the mailbox into OpenHAB, which controls the home automation.
Define a new switch in items:
Switch Mailbox "Mailbox Dash" { mqtt="<[mqttmain:/home/dashbuttons/aabbcc:command:ON:1]" }
Define a new rule, which resets the mailbox status to OFF and prepares it for the next box opening:
import org.openhab.core.library.types.*
import org.openhab.core.persistence.*
import org.openhab.model.script.actions.*

rule "notify on mail"
when
  Item Mailbox changed from OFF to ON
then
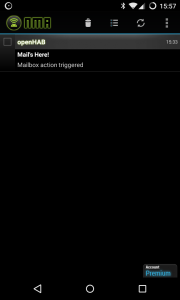
  notifyMyAndroid("Mail's Here!", "Mailbox action triggered", -1)
  sendCommand(Mailbox, OFF)
end
The final goods:
Next Steps
Now that this is working, the rest will be to improve the home automation bits: I want to do presence detection with my cell phone. This way I can make a decision for the mail notification: if I’m home then blink a light, or if I’m not home, send via notifymyandroid.
 Â
 