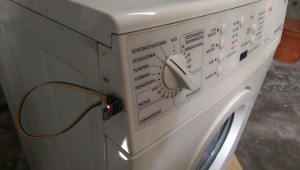
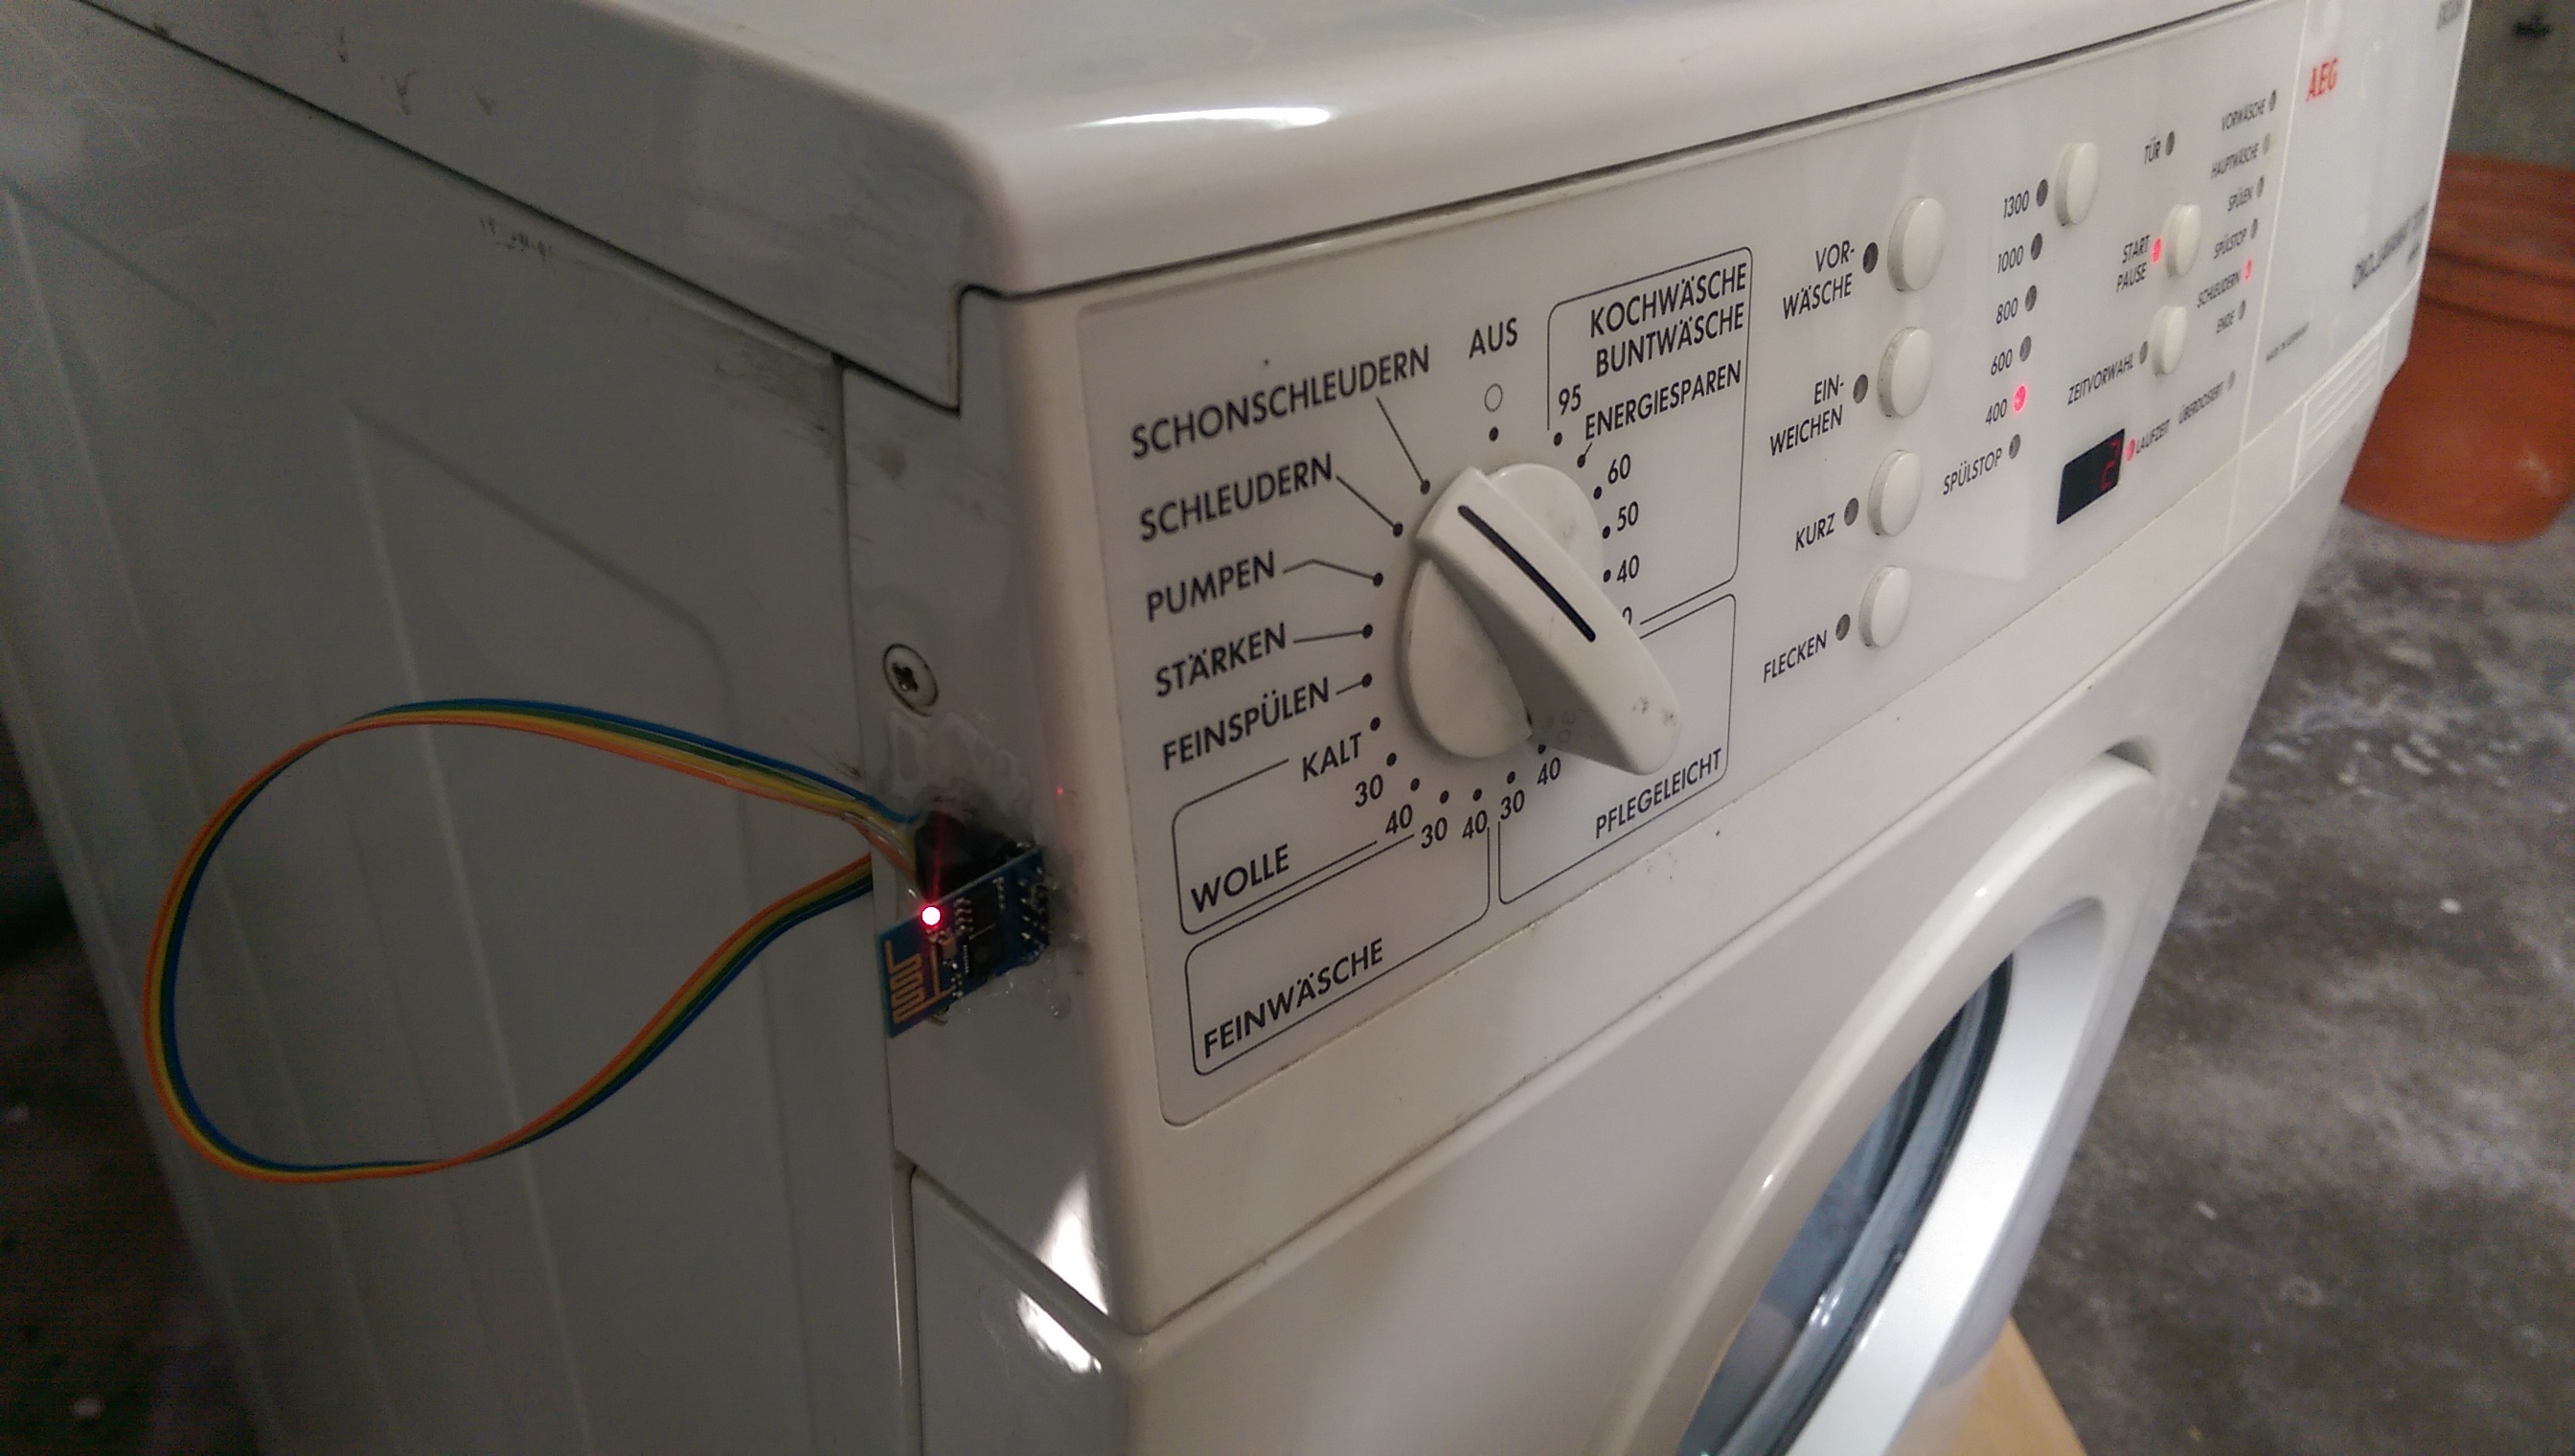
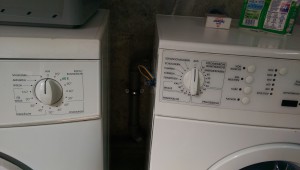
ESP8266 Internet Enabled Washing Machine
A quick little thing I did as a weekend project was to connect our washing machine to the Internet. The washing machine is in the basement, three flights below our apartment. On laundry day, we occasionally try to rotate loads too early and end up going downstairs before the previous load is done.
The washing machine has an LED on it, which indicates the load is complete. I wanted a way to call the status of this light from inside our apartment and save unnecessary trips downstairs. I also have an ESP8266 module waiting for a project, so this pairing seemed to be perfect.
The original goal was to hook the LED pin up to the GPIO of the ESP8266 and read that. Â As usual it wasn’t quite this easy as the washing machine is quite old and uses a strange multiplexing with AC for the display.
Step one was to crack open the washing machine’s panel and locate a decent power supply (Ideally 3.3v). Â After probing around, I found a nice 5v rail, and immediately afterwards I found the 9V Accessory Port. Â I then soldered wire to the accessory port (red/brown in the picture below) and to the “Wash Complete” LED (green/yellow wires):
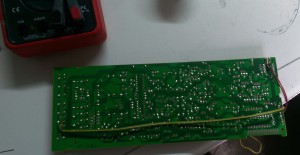
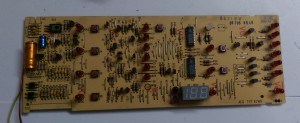
The 9v will be converted down to 3.3v by a handy and cheap LM2596 regulator module from Ebay. With a good voltage source, I turned my attention to the LED and how I could get a clean “on/off” out of the LED.  This turned out to be the trickiest part of the project.  When looking at the signals, they were clearly not referenced to the ground, which I am using (This was a blinking light – but the blink pattern was nowhere to be found).  I then discovered that the entire machine was using AC signals, which are offset to multiplex the displays and that my DC voltage was made locally on the board (in the picture above you can see the bridge rectifier components in the bottom left of the board)
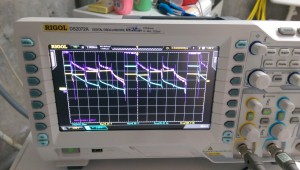
Plan B: Optocoupler.  If the LED is turned on and off, I won’t have to worry about any signal translations if I simply use an optocoupler and turn that on/off in parallel with the LED.  The ESP8266 can’t have the GPIO pins tied to ground during boot-up, and the system boots every time I turn on the washing machine, so I chose to have the optocoupler short to ground when enabled (LED on, wash done), otherwise the GPIO is pulled high with a 10K resistor.
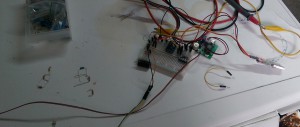
This setup seemed to work and I was getting a clean 3.3V from the converter board, and a nice 3.3V or 0V depending on the LED’s state. Â Time to code.
I chose NodeMCU for its simplicity. Â Below is the code that I came up with, which outputs the status of both GPIO pins in JSON format, as well as the Chip ID, as this surely won’t be the first thing I try to internetify.
wifi.setmode(wifi.STATION)
wifi.sta.config("MY-WLAN-SSID","My-WPA2-Password")
-- call this to determine IP if you're too lazy to look in the DHCP table
-- print(wifi.sta.getip())
gpio0 = 3
gpio2 = 4
gpio.mode(gpio0, gpio.INPUT)
gpio.mode(gpio2, gpio.INPUT)
srv=net.createServer(net.TCP)
srv:listen(80,function(conn)
    conn:on("receive", function(client,request)
        local buf = "";
        buf = "{\n";
        buf = buf.."    \"ChipID\": "..node.chipid()..", \n";
        buf = buf.."    \"GPIO0\": "..gpio.read(gpio0)..", \n";
        buf = buf.."    \"GPIO2\": "..gpio.read(gpio2).." \n";
        buf = buf.."}\n"
        client:send(buf);
        client:close();
        collectgarbage();
    end)
end)
After the chip was flashed, everything worked as expected. Â When the washing machine was running, a query returns
{
    "ChipID": 10116434,
    "GPIO0": 1,
    "GPIO2": 1
}
and when the wash is complete:
{
    "ChipID": 10116434,
    "GPIO0": 0,
    "GPIO2": 1
}
Neat! Â Time to complete it and put the washing machine back together. Here it is all sealed up and working:
